Imprint generator
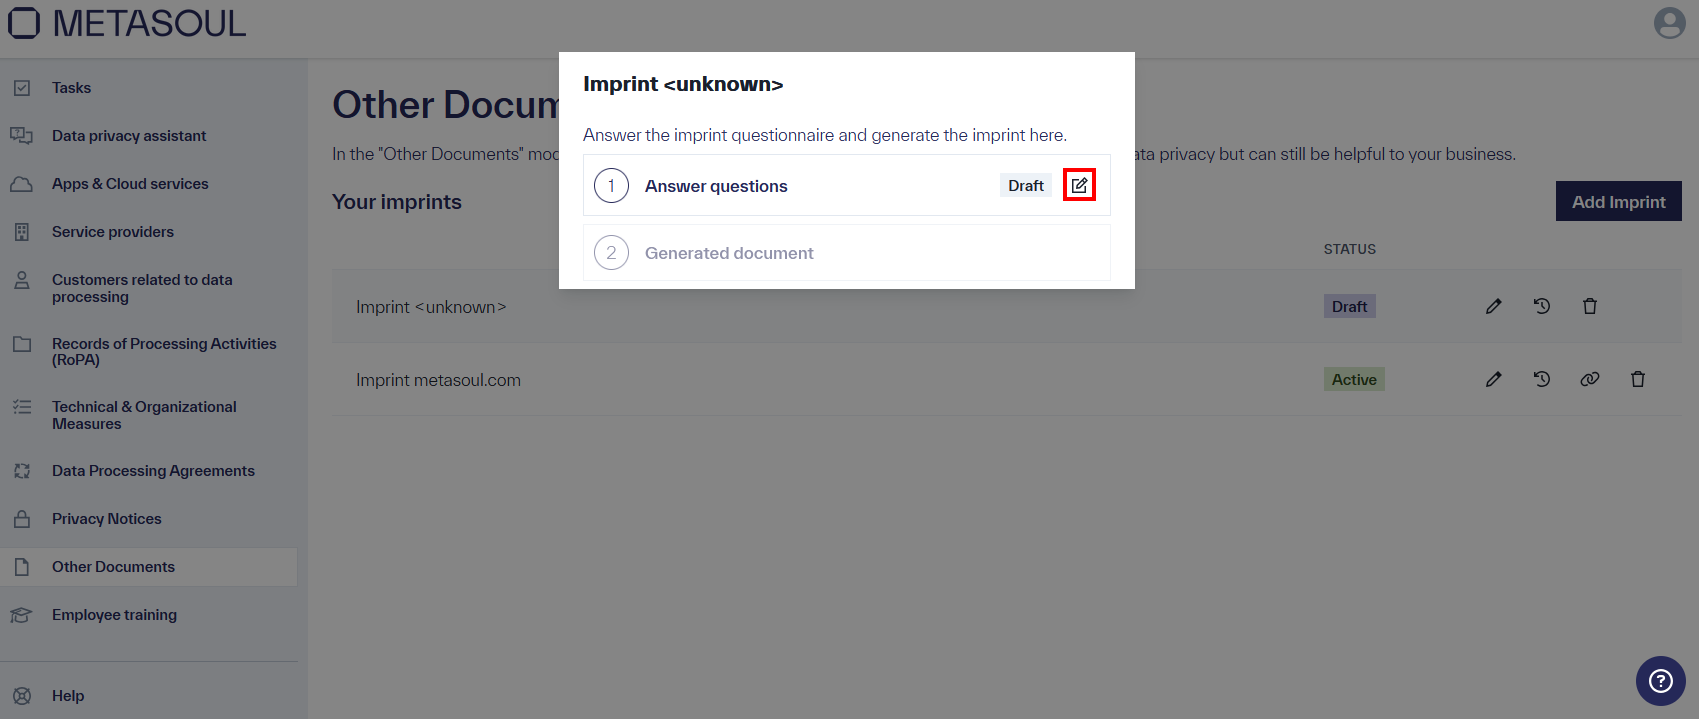
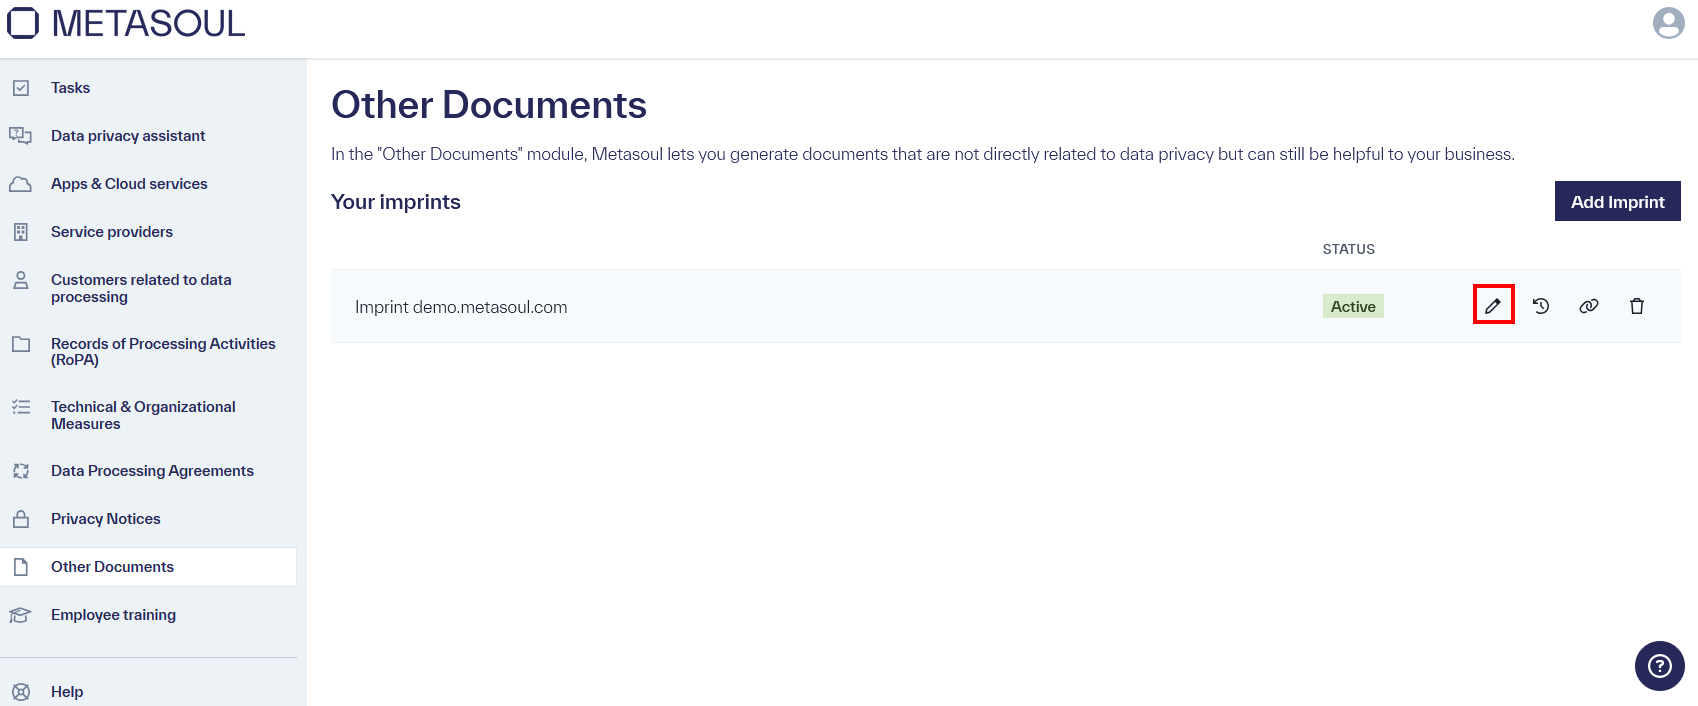
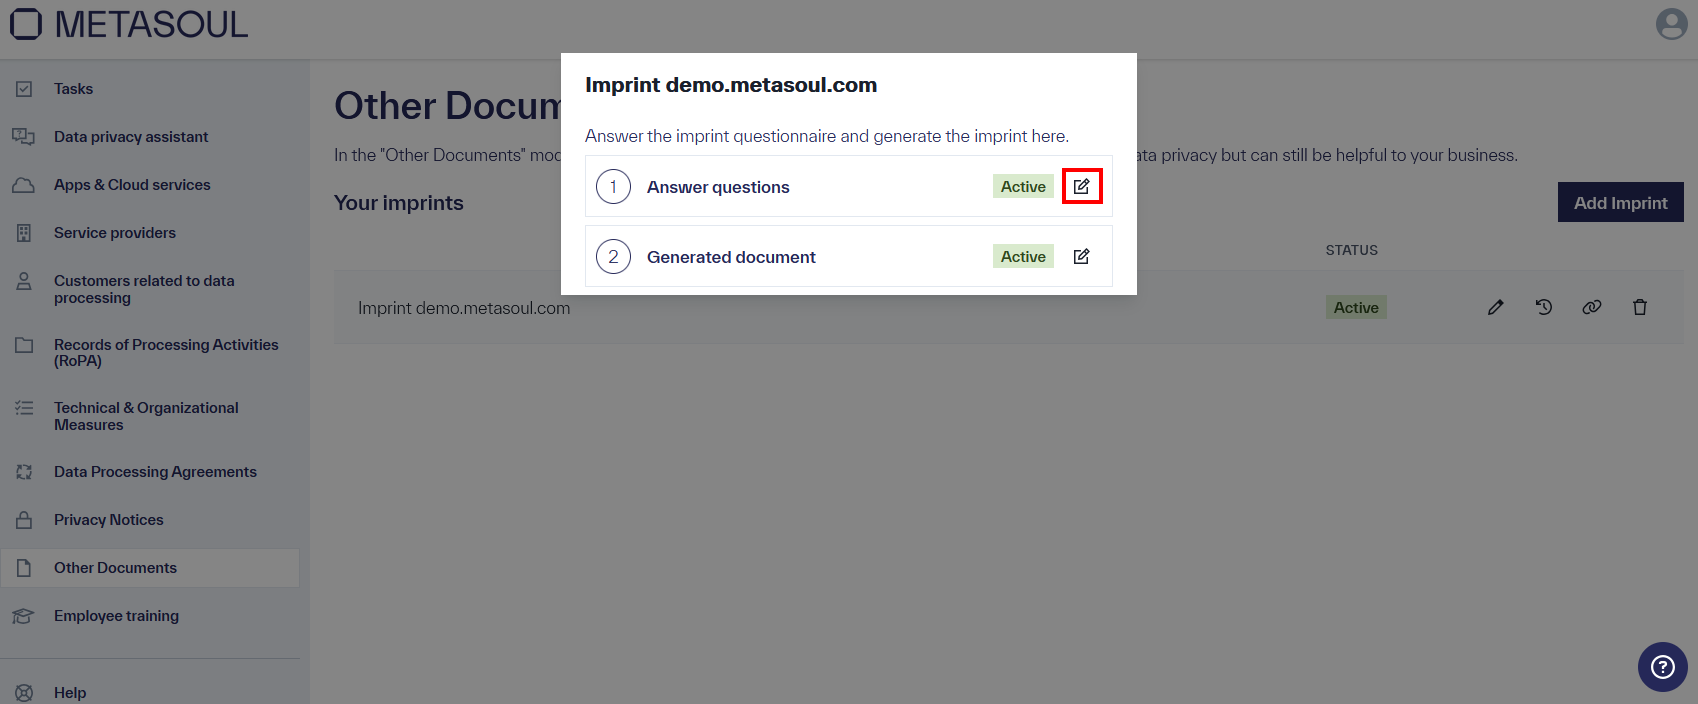
In the “Other Documents” module, a new imprint questionnaire can be completed and a document generated by using the “Add Imprint” button. The imprint questionnaire can be opened via the “Edit” icon in Step 1, “Answer Questions.”
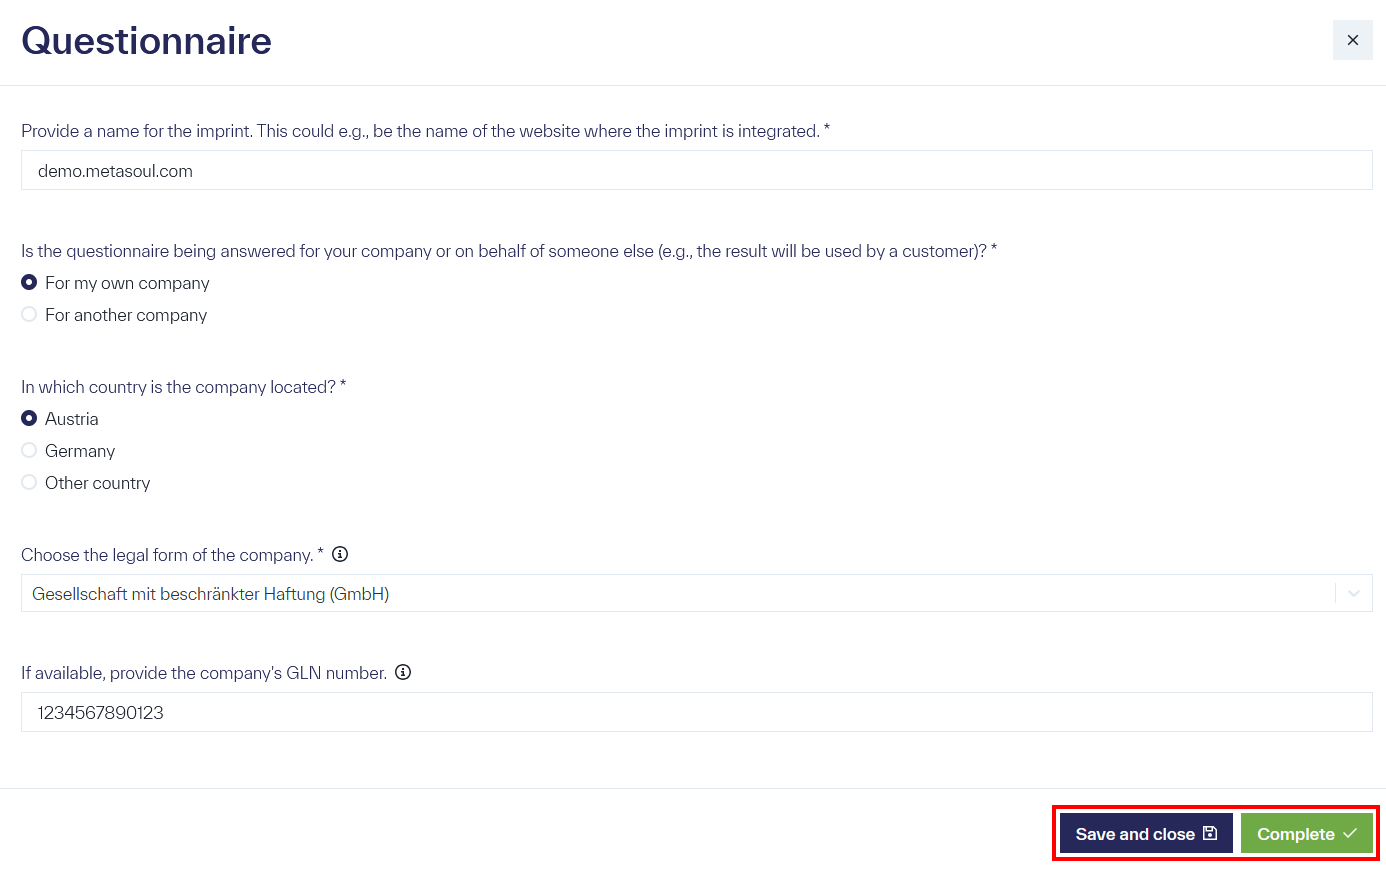
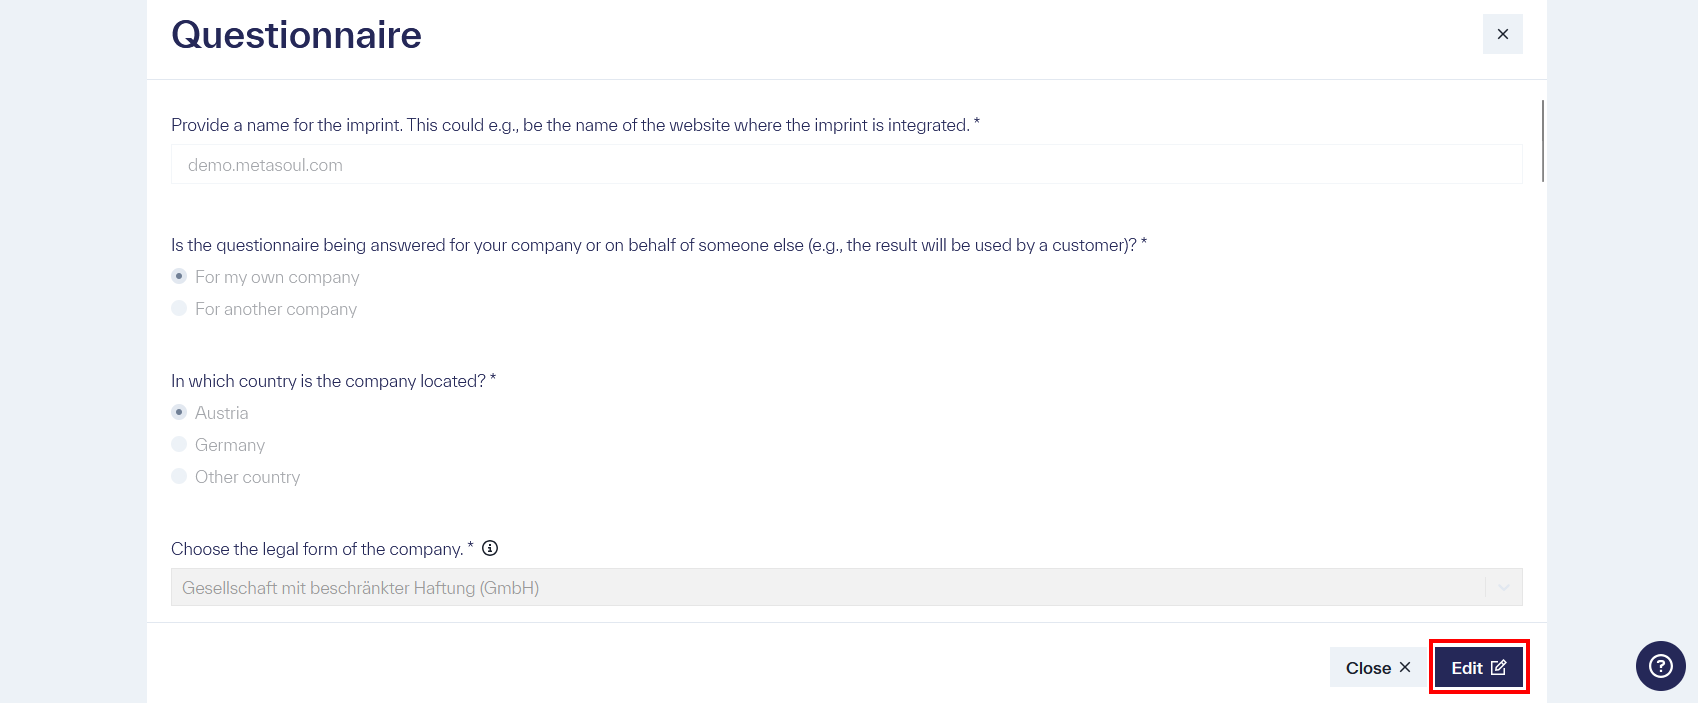
Mandatory fields in the questionnaire are marked with an asterisk (*). The questionnaire cannot be fully completed, and an imprint cannot be generated, until all mandatory fields are filled.
Some input fields include an information icon (🛈), which displays additional guidance and instructions when the mouse pointer hovers over the icon. Furthermore, certain fields are dynamically displayed based on previous selections.
Clicking the blue button “Save and Close” at the bottom of the screen allows the questionnaire to be paused and the current status to be saved. The status of the questionnaire is “Draft.”
After completing all required entries, the questionnaire can be finalized by clicking the green button “Complete” at the bottom of the screen, confirming that all questions have been fully answered. The status of the questionnaire changes to “Active.”
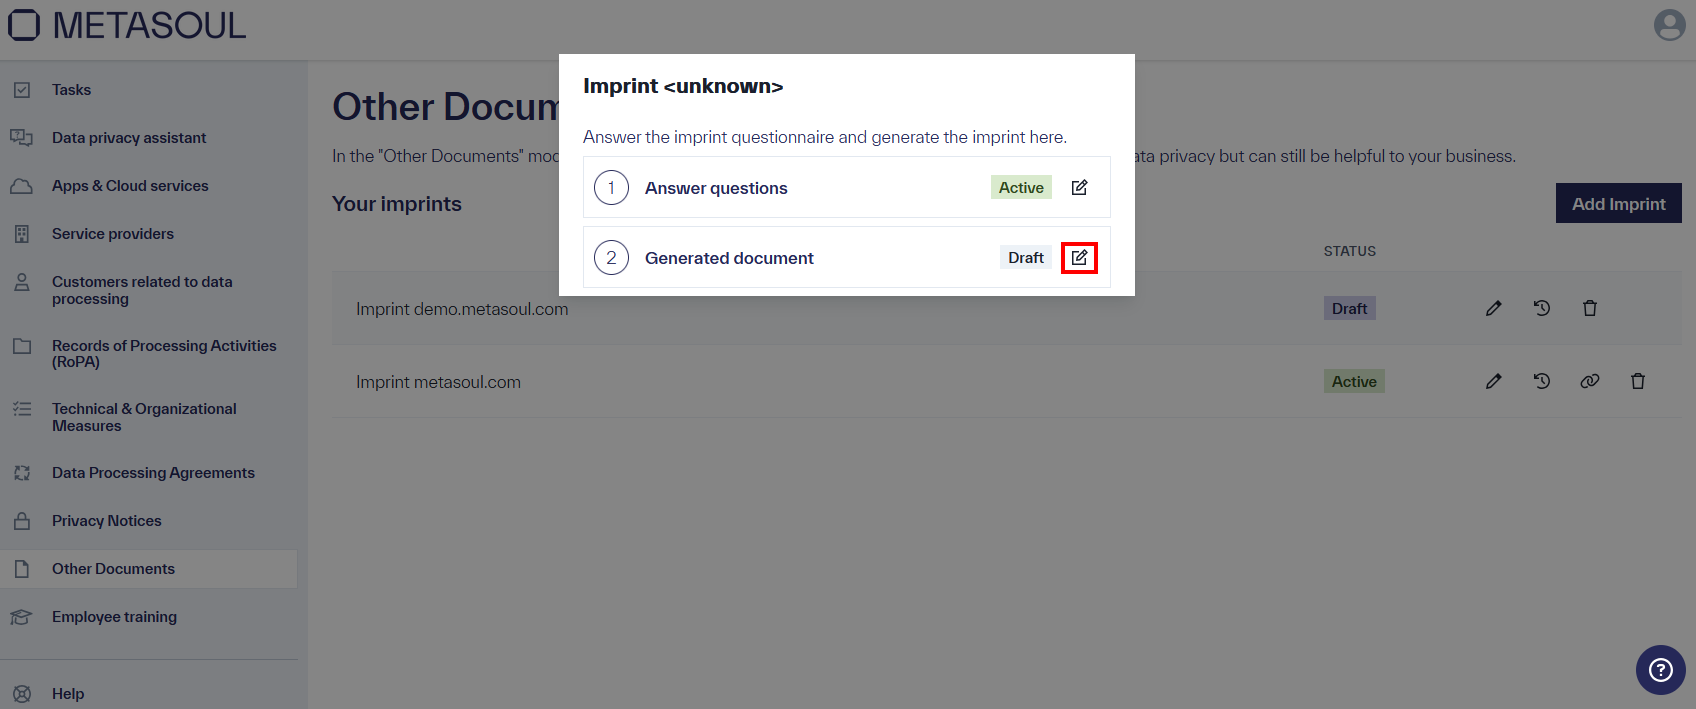
For the generation of an imprint, the questionnaire must have the status “Active.”
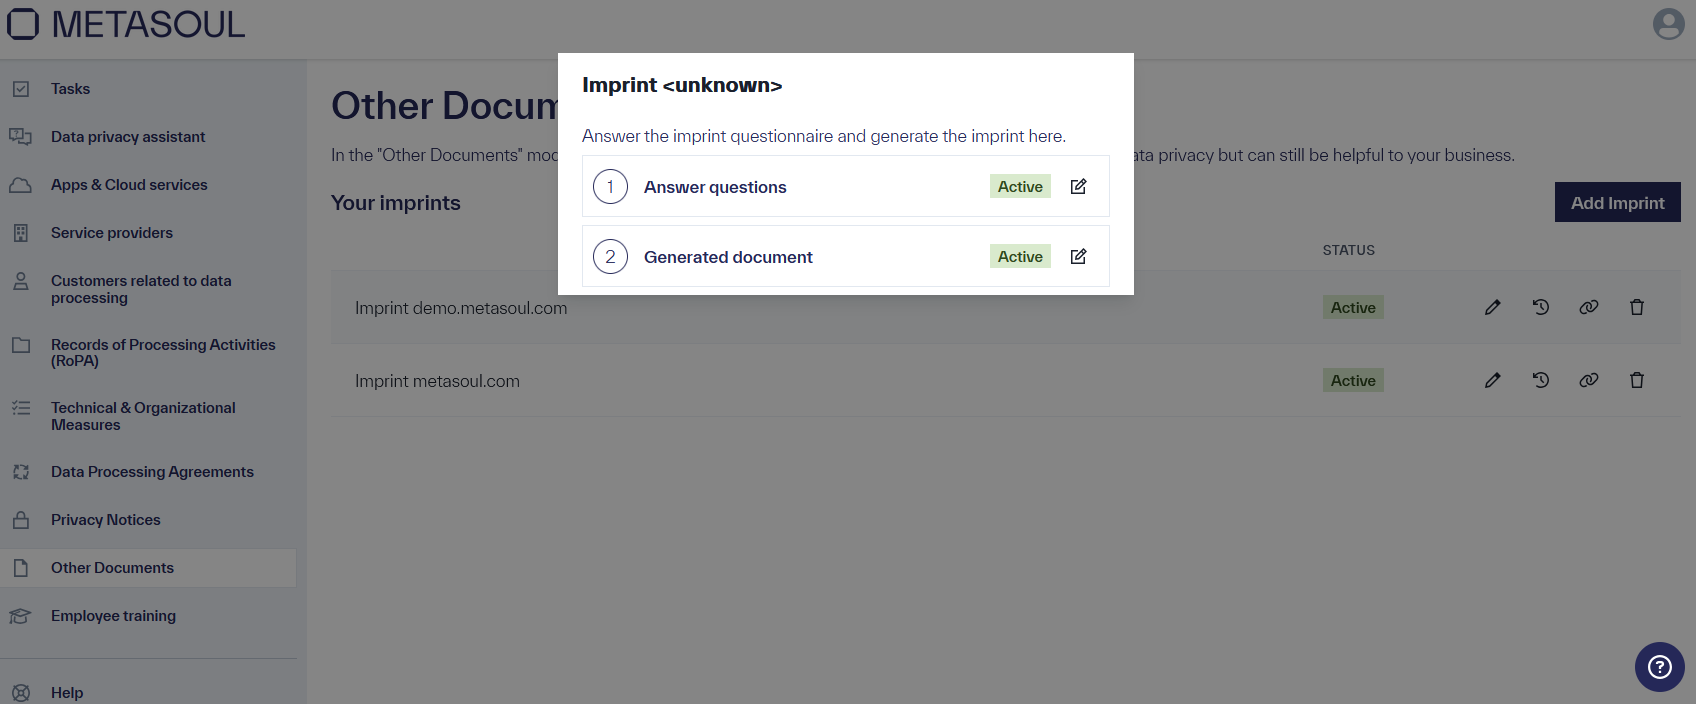
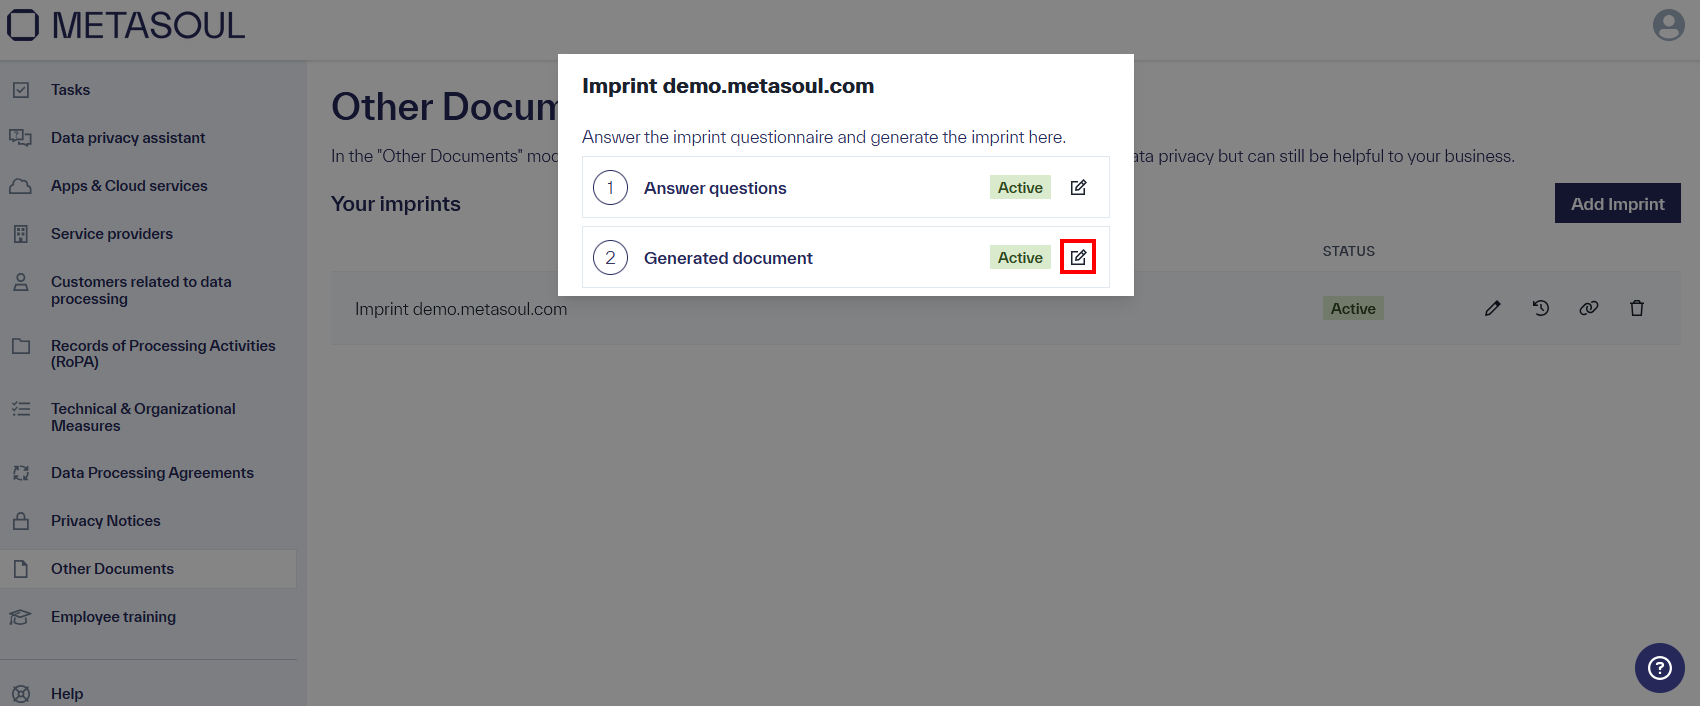
If the questionnaire has the status “Active,” the imprint document can be generated in Step 2 by clicking the “Edit” icon.
A preview of the imprint opens, where, as with privacy notices, as with privacy notices each section can be edited individually using the “Edit” icon in the upper right corner of the respective section.
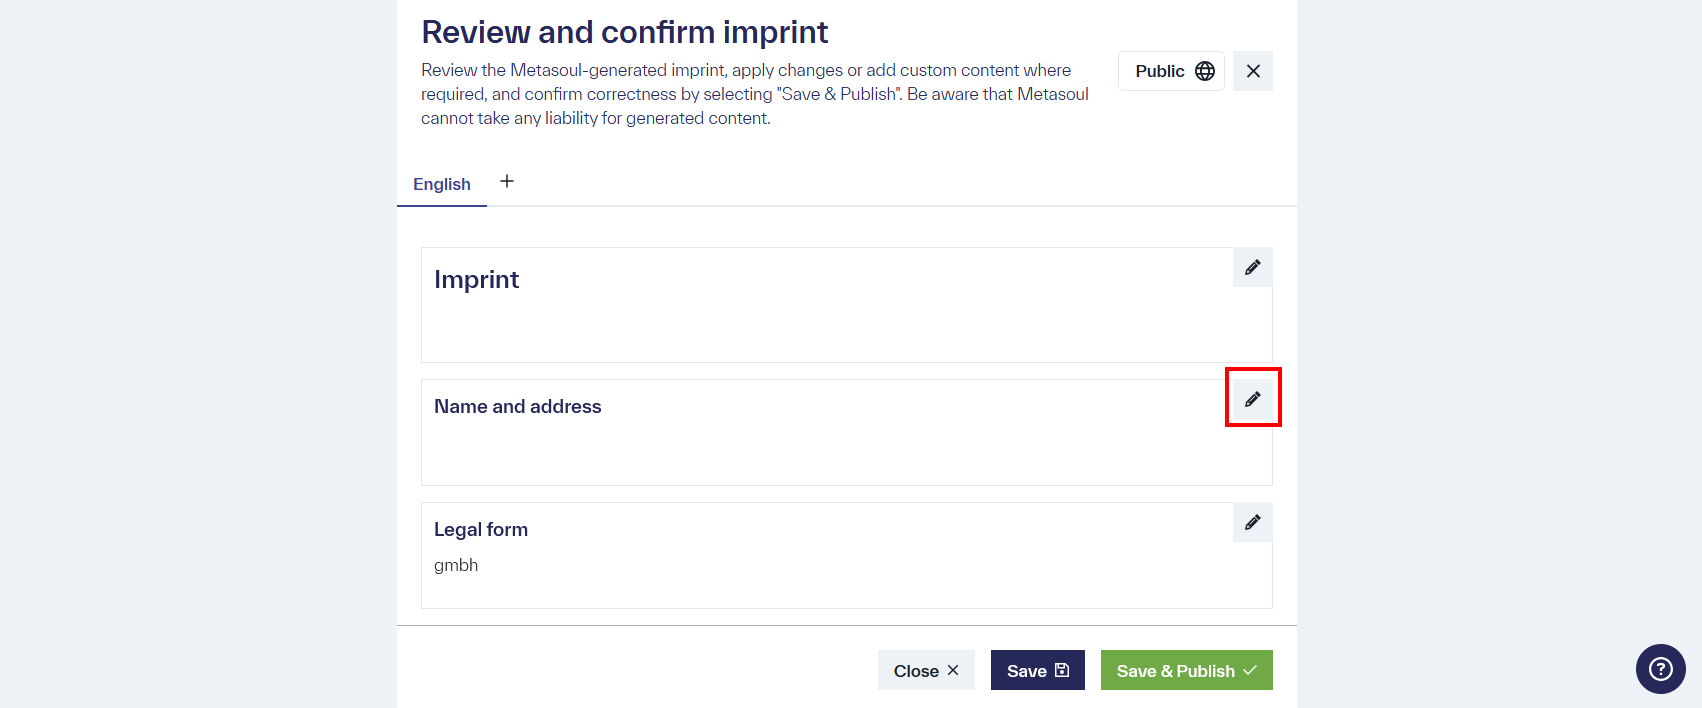
The entire content of the imprint must be carefully reviewed to ensure that it meets the intended requirements. This is important, as the responsible party is liable for the content. Once all content has been reviewed and approved, the imprint is saved by clicking the “Save and Publish” button.
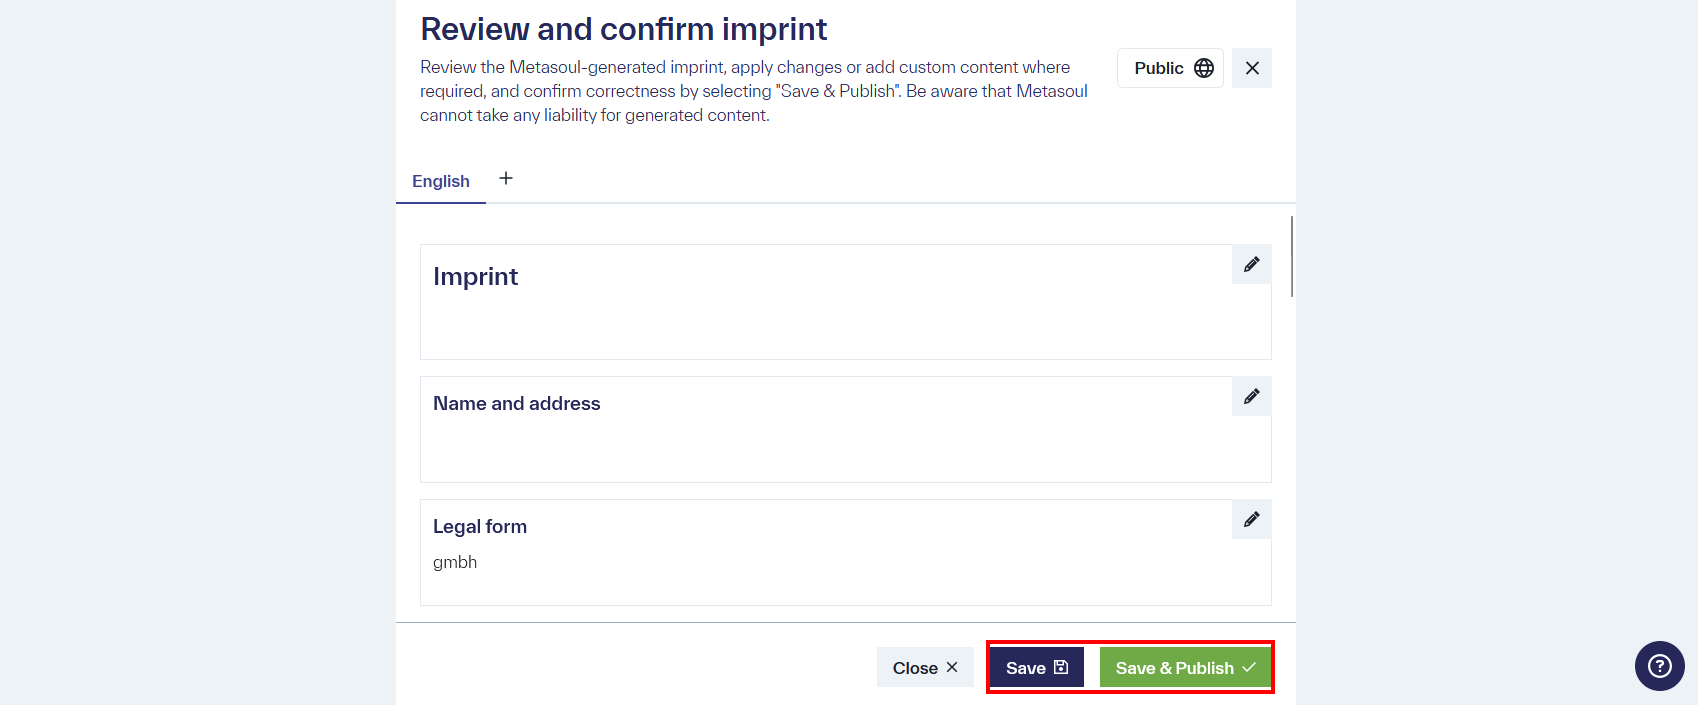
After “Save & Publish,” the imprint document is marked with the status “Active” and can be used, for example, embedded on websites.
In the “Other Documents” module, where the created imprint is displayed,
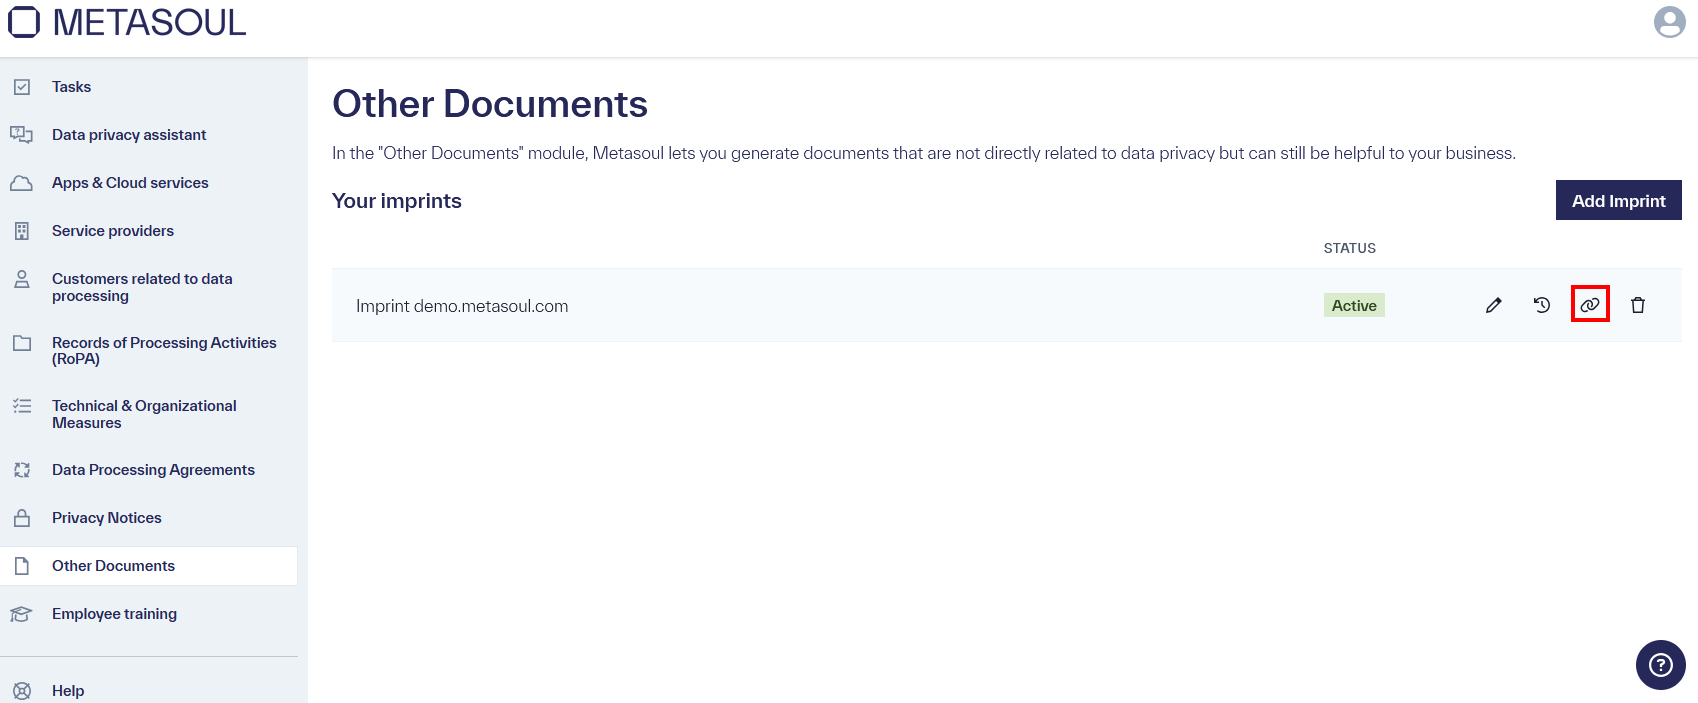
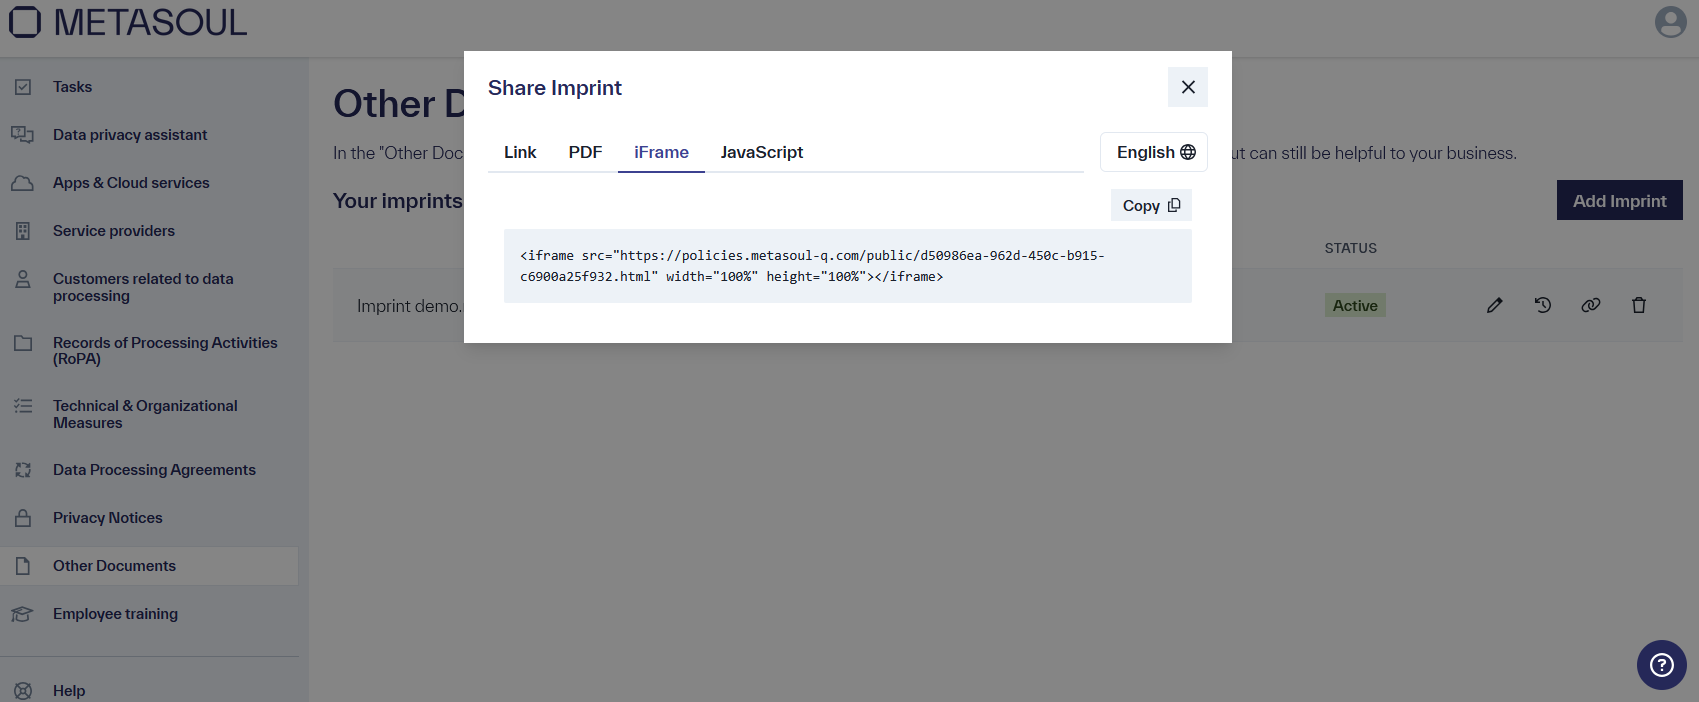
Clicking on the “Share” icon opens a window titled “Share Imprint,” offering four options for downloading or embedding the privacy notice. Embedding into a website works the same way as with a privacy notice, and this is described here.
To edit the “Imprint”, click on the “Edit” symbol of the corresponding entry in the module “Other Documents”.
In the subsequently displayed window, clicking on the “Edit” symbol in Step 1 “Answer Questions” will reopen the questionnaire for the “Imprint”.
The Imprint question catalog can be edited again with a click on the blue “Edit” button.
After editing the question catalog, the changes can be saved and applied using the green “Complete” button. The status of the questionnaire is “Active”. If the questionnaire is completed via “Save and close”, the status changes to “Draft”, and the changes cannot yet be applied to the Imprint document.
To edit the Imprint text, the “Edit” icon of the corresponding entry is clicked in the module “Other Documents”.
In the window that appears next, the Imprint is displayed by clicking the “Edit” icon in step 2, “Generated document”.
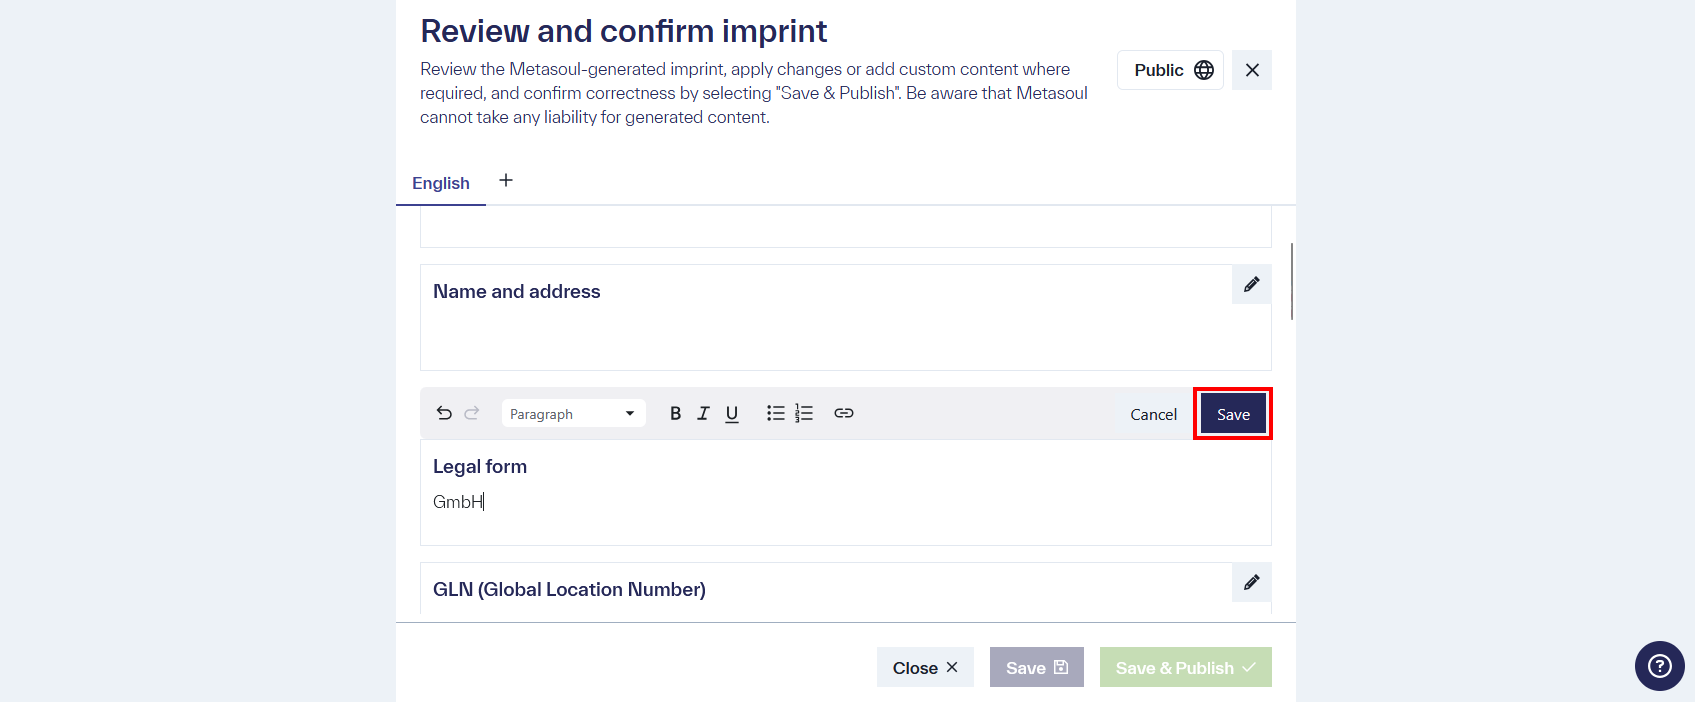
The editing mode of the respective section is opened via the “Edit” icon in the section to be edited.

The text can now be edited and formatted. After making a change, the modifications are saved in the section by clicking “Save”.
After changes have been made and saved to all desired sections, the Imprint document is saved using “Save and Publish” and the status of the document is “Active”.
The multilingual creation and integration of an Imprint is done in the module “Other Documents” via the “Share” icon.
The multilingual creation and integration works similarly to the multilingual creation and integration of a privacy notice and is described here.